How to Print on Wood: A Practical Guide to UV Printing, Preparation Custom Products
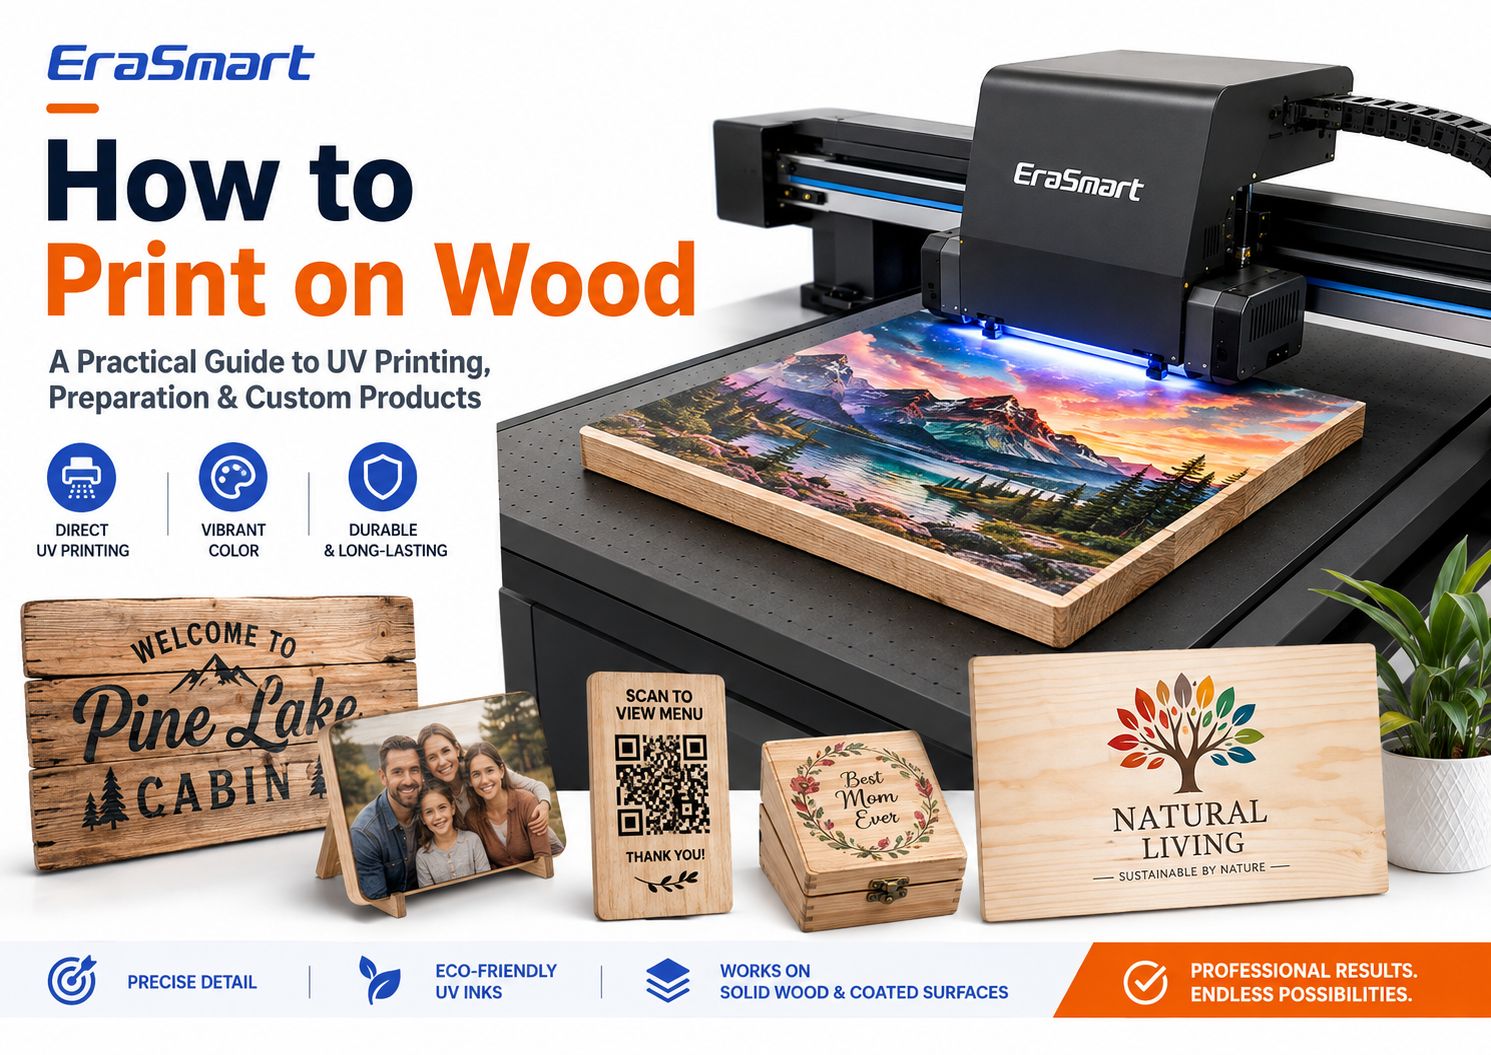
For professional full-color customization, UV flatbed printing is one of the most practical methods because the printer can place CMYK, white ink, and optional varnish directly onto suitable wooden surfaces without transfer paper.
This makes it possible to produce wooden signs, photo plaques, QR code displays, awards, gift boxes, coasters, menu boards, home décor, branded products, and personalized gifts in small or medium batches.
But successful wood printing is not simply a matter of putting a wooden board on a UV printer and pressing Print.
Wood is a natural material. Grain, porosity, dust, moisture, surface coatings, flatness, oils, waxes, and texture can all affect print quality and ink adhesion.
A smooth birch plywood panel may behave very differently from rough pine. A raw bamboo board may behave differently from a lacquered bamboo product. Even two visually similar wood blanks can produce different results if their coatings are different.
prepare the surface → test the material → choose the right white ink strategy → print a sample → check adhesion → standardize the workflow
This guide explains the main ways to print on wood, how direct UV printing works, which wood surfaces are easier to print, how to prepare the material, when to use white ink, how to create a repeatable production workflow, and what products you can build with an EraSmart UV Printer .
Quick Answer: What Is the Best Way to Print on Wood?
There is no single best method for every wooden product.
whether the product is a DIY craft or commercial product
For commercial full-color customization on flat wooden products, direct UV printing is one of the most flexible options .
It allows artwork to be printed directly onto the surface and is especially useful when you need:
However, other methods still have their own uses.
Method Full Color White Ink Transfer Needed Best Use UV Printing Excellent Yes No Commercial direct wood customization UV DTF Excellent Yes Yes Finished or difficult-to-position products Sublimation Excellent No Yes Sublimation-coated wood blanks Screen Printing Limited by setup Possible No Repeated simple graphics Photo Transfer Yes No Yes DIY craft projects Laser Engraving No full color No No Burned or engraved wood effect The key point is that printing on wood is not one single process.
Choose the method according to the finished product you want to sell.
A UV printer uses ink that is cured by UV light during the printing process.
Instead of relying on transfer paper, the printer jets ink directly onto the wooden surface.
For suitable wood products, this creates several advantages.
The artwork is printed directly onto the board.
This can reduce production steps compared with workflows that require:
UV printing is suitable for designs such as:
White ink is especially useful on wood because the natural substrate is not white.
You can use white ink to create stronger opacity and more predictable colors.
On compatible UV printer configurations, varnish can be added selectively for:
Digital printing makes it easier to produce:
without creating a separate traditional printing screen or plate for every design.
UV printers can work with many wooden and wood-based substrates, but the wood species alone does not determine print quality.
A smooth plywood surface can provide good detail and predictable positioning.
However, plywood quality varies. Check for warping, surface defects, and veneer consistency.
Maple has a relatively fine grain and can work well for products where small details matter.
The visible grain and knots can become part of the design, especially when printing without a full white underbase.
However, rougher pine may need additional sanding and preparation.
Because finished bamboo products may have different surface coatings, test the exact product before production.
MDF provides a more uniform manufactured surface than natural wood grain.
Raw MDF is porous, so its surface condition and any coating or sealing process should be evaluated before production.
Coated or painted wood can offer a more uniform appearance.
However, a coating introduces another variable:
Will the UV ink bond properly to that coating?
A glossy coating, wax, lacquer, paint, sealant, or low-surface-energy finish may affect adhesion.
Always test the actual finished material.
The Most Important Rule: Smooth, Clean, Dry, and Stable
When choosing wood for UV printing, look for four characteristics:
A smoother surface generally supports sharper text, cleaner lines, and more consistent image detail.
Dust from sanding or handling can interfere with printing and adhesion.
Moisture can affect the surface and long-term product stability.
The board should sit flat enough for safe and consistent printhead clearance.
This matters more than simply selecting a species from a list.
For a broader look at UV-compatible substrates, see the EraSmart UV Printer Materials Guide .
Raw and coated wood create different opportunities.
Raw wood preserves the natural material character.
This is useful when the grain is intentionally part of the design.
Raw wood usually benefits from careful sanding and cleaning.
Coated wood can provide a more uniform visual surface.
But the coating itself must be compatible with the UV ink.
never approve a wood material for production based only on its name. Test the exact blank or finished product.
Surface preparation is one of the most important parts of the entire process.
Do not start printing until you know what surface you are working with.
If the board is rough, light sanding may help create a more consistent printing surface.
The goal is not always to remove the natural wood character.
Fine sanding is usually more appropriate for print preparation than leaving a rough unfinished surface.
Use an appropriate lint-free cleaning method and make sure the surface is clean before printing.
Some finished wooden products may contain:
If the product is painted, sealed, lacquered, or coated, run an adhesion test.
Do not assume that every painted or sealed wood product is automatically UV printable.
that you plan to use for the final customer order.
If necessary for a specific substrate, an appropriate primer or pretreatment may improve adhesion.
Do not use primer automatically on every piece of wood.
Use it when testing shows that the material requires it.
A good wood print starts before the material reaches the printer.
For photographs and detailed illustrations, around 300 DPI at the final print size is a practical starting point for close-view products.
A design prepared on a white computer canvas may look completely different when printed over natural wood.
This is why the white ink decision matters so much.
White Ink vs Natural Wood Grain: Which Should You Choose?
This is one of the most important creative decisions in UV printing on wood.
With CMYK-only printing, the natural wood remains visible through lighter parts of the artwork.
It works especially well for designs intentionally created for a wood background.
The important limitation is color predictability.
Because the substrate is brown or tan rather than white, the final color will interact with the wood.
Light areas may appear darker or more transparent than they did on screen.
A white underbase creates a more opaque foundation beneath the color artwork.
White + CMYK reduces the influence of the natural wood color.
Selective white is often the most interesting option for premium wood products.
Instead of printing white under the entire image, use white only where opacity is needed.
and can give the finished product a more intentionally designed appearance.
Want maximum natural texture? Use CMYK only.
Want more predictable, vivid color? Use White + CMYK.
Want a premium mixed effect? Use Selective White + CMYK.
The best option depends on the artwork and product positioning.
Once the material and artwork are prepared, build a repeatable production process.
Place the wood securely on the printing platform.
A surface that is badly warped or positioned too high may create:
Do not use the printer to compensate for severely warped wood.
Do not immediately start a 100-piece batch.
After curing, test whether the ink layer is suitable for the intended application.
A decorative indoor plaque has different requirements from an item that will be handled frequently.
Now multiple pieces can be produced with a more repeatable workflow.
This is particularly important for personalized jobs.
One of the biggest differences between hobby printing and professional production is standardization.
For a single wooden sign, manual positioning may be acceptable.
For 50 identical café QR signs, the goal should be:
same material + same fixture + same RIP preset + same position + same QC
If you regularly print the same wood blank, create a repeatable positioning system.
The goal is to avoid manually guessing the location for every product.
For example, if a customer orders 30 wooden menu signs:
fix the board to the same reference position
change only the artwork data where required
This turns custom wood printing into a production workflow rather than a craft experiment.
EraSmart offers both UV flatbed and UV DTF workflows, but they are not the same process.
you are producing plaques, panels, signs, or gifts
you want white and varnish effects directly on the product
the finished product is difficult to place in a flatbed
you want to make the graphic first and apply it later
you are decorating certain finished objects
However, UV DTF adhesion on wood still depends heavily on the surface.
A decal that sticks well to sealed smooth wood may not behave the same on:
Also adjust artwork with the actual wood background in mind.
Clean the exact substrate and run an adhesion test.
If necessary, evaluate an appropriate compatible pretreatment for that material.
Use smoother wood, improve surface preparation, use vector text, and verify the print height.
Problem 4: Print Position Changes Between Products
Manual positioning without a repeatable reference.
Warping can create inconsistent distance between the printhead and surface.
A vacuum platform can help secure suitable flat materials, but it should not be expected to correct severe warping.
Problem 6: The Wood Grain Overpowers the Artwork
This is often a design issue rather than a printer problem.
Use a white underbase where stronger opacity is required.
Or redesign the artwork intentionally around the natural grain.
Do You Need a Protective Coating After UV Printing?
Not every wood product requires an additional clear finish.
For decorative indoor products, the UV-cured print may already provide the desired appearance.
For products that will experience heavier wear or specific environmental exposure, additional finishing may be evaluated.
Always test any post-print coating because it may change:
A Practical EraSmart UV Printer for Wood Printing
For small and medium wood products, an A3-class UV flatbed is a practical production format.
One option is the EraSmart Digital Inkjet A3 UV Printer — Dual XP600 .
Specification EraSmart A3 PRO Printheads Dual XP600 Print Area 350 × 450 mm Print Height 0–130 mm Ink Configuration CMYK + WW + Varnish Resolution Up to 1440 dpi White Ink Circulation Yes Automatic Cleaning Yes Vacuum Platform Yes Height Measurement Infrared RIP Software Riin / EraRip The printer supports materials including:
For wood applications, the combination of white ink, varnish capability, vacuum platform, and infrared height measurement is particularly useful for small-batch flat product customization.
What Wood Products Fit an A3-Class Workflow?
A 350 × 450 mm print area can accommodate many smaller custom products, depending on the final dimensions.
For larger wooden panels, signage, or multiple pieces per batch, a larger platform may make more sense.
EraSmart also offers the A2 UV Printer with a larger working area for businesses whose product dimensions require more space.
Choose printer size according to your products, not simply because a larger machine sounds more professional.
Wood Products You Can Print with a UV Printer
Wood is valuable because it can serve several business markets at once.
Full-color UV printing can turn photos into:
White ink is often useful behind photographic artwork.
Small businesses increasingly use QR displays for:
Print and physically scan the QR code before delivery.
The exact box geometry must fit safely within the printer's supported dimensions and clearance.
For products exposed to moisture or repeated abrasion, test the finished product according to its real use.
B2B orders can be especially valuable because customers may reorder the same template with updated text or different staff names.
How One Wood Design Can Become Multiple Products
A smart customization business can reuse artwork.
For example, one mountain illustration can become:
The same design does not need to be recreated for every product.
This increases the value of each artwork file.
Do not calculate price using only ink and wood.
Personalization usually creates more value because customers are not buying a generic wooden board.
They are buying a finished custom product.
Mistake 1: Assuming All Wood Prints the Same
Sanding dust can reduce quality and adhesion.
White ink is one of the most important creative tools for controlling color on natural wood.
Mistake 4: Printing the Full Order Without a Sample
Flatness matters for consistent printhead clearance.
Mistake 6: Ignoring Existing Surface Coatings
Wax, oil, lacquer, paint, and other coatings can affect adhesion.
Mistake 7: Using the Same Artwork for White Paper and Wood
Mistake 8: Manually Repositioning Every Product
Build a repeatable fixture for batch production.
For professional direct printing on suitable wooden products, UV printing provides a flexible workflow for full-color artwork, white ink, varnish effects, personalization, and small-batch production.
prepare the wood → prepare the artwork → choose the white ink strategy → position the product → set print height → print a sample → test adhesion → standardize the position → begin batch production
The biggest factor is not maximum printer resolution.
A clean, smooth, stable wooden product with a tested print setup will usually produce more predictable results than an expensive machine printing on an unsuitable, dusty, oily, or badly warped surface.
CMYK only when you want natural wood grain
White + CMYK when you want stronger opacity
Selective White + CMYK when you want to combine natural material character with vivid color
For businesses producing wooden plaques, signs, gifts, QR displays, coasters, awards, boxes, and other flat custom products, the EraSmart A3 PRO UV Printer provides a 350 × 450 mm A3-class platform with Dual XP600 printheads, white ink, varnish capability, white ink circulation, automatic cleaning, vacuum platform, and infrared height measurement.
The goal is to create a workflow that can produce the same quality again and again .
Yes. UV flatbed printers can print directly on many suitable wooden surfaces. Wood should be clean, stable, sufficiently flat, and tested for adhesion before commercial production.
Do I need to sand wood before UV printing?
Not always. Smooth prepared wood may already be suitable. Rough surfaces, loose fibers, or irregular finishes may benefit from sanding. Always remove sanding dust before printing.
Smooth, clean, stable wood generally produces the most predictable results. Birch plywood, maple, prepared pine, bamboo, MDF, and coated wood can all be used depending on the surface condition and required finish.
Yes, but raw wood can be more porous and textured. The result depends on grain, surface smoothness, moisture, dust, and the artwork.
Do I need white ink when printing on wood?
Use CMYK only when you want the natural grain to show through.
Use white under CMYK when you need more opaque, vibrant, or predictable colors.
Can UV printing reproduce photos on wood?
Yes. For photographic products, use high-quality artwork and consider a white underbase if you want the image colors to remain stronger and less influenced by the wood tone.
Yes, but QR codes must remain sufficiently large, sharp, and high contrast. Always test the finished printed code with multiple phones before delivery.
No. Primer requirements depend on the exact wood surface, coating, ink, and adhesion requirement. Test first rather than applying primer automatically.
Potentially, if the product fits within the printer's supported dimensions, height, weight, and safe printhead clearance. The printable area must also be sufficiently flat.
What EraSmart printer is suitable for wood printing?
For small and medium flat wood products, the EraSmart Digital Inkjet A3 UV Printer — Dual XP600 is one suitable option. For larger wood pieces, review the EraSmart UV Printer range and select a print area based on your actual product dimensions.
Want to Build a Custom Wood Printing Business?
whether the surface is raw, painted, or coated
Our team can help you compare the right EraSmart UV Printer and production workflow for wooden signs, photo plaques, personalized gifts, branded products, QR signs, coasters, boxes, and other custom wood applications.
Prepare the surface. Control the white ink. Test the sample. Then scale the workflow.